Building a 3D Coffee Shop Loop.
This was one of the most ambitious projects I’d worked on. Ever since starting working with Blender I’ve had a cautious relationship with animation. It’s area I want to do more work within, but there are so many moving parts (literally) and the slightest key frame in the wrong place can throw the whole thing off.
Stage One
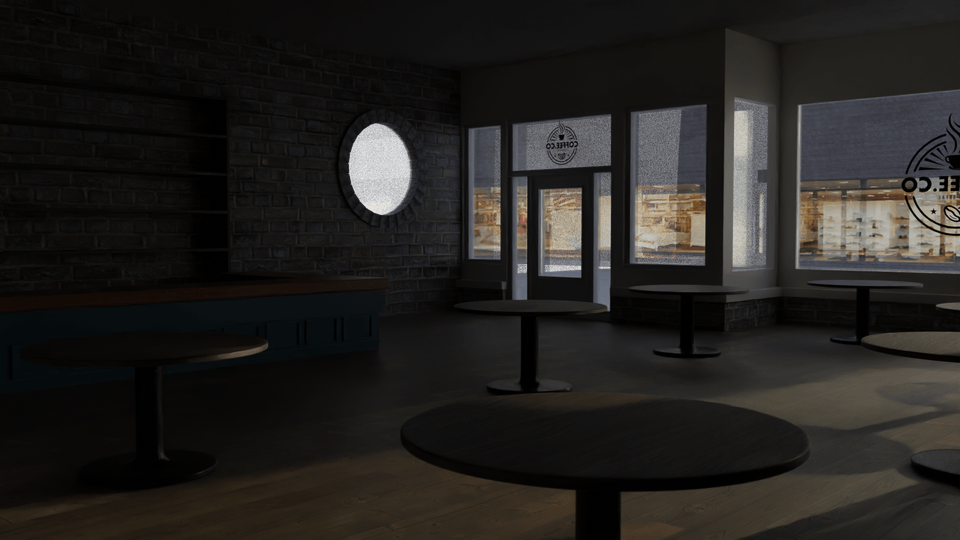
The first stage is to build the basic block out. This is the time to try some ideas around and pull in ideas from other images and see what’s working and what’s not.
It’s always a challenge when starting off with the fabled default cube; at least it’s not a completely blank screen.
When I first started out I would use only use one image to work from but now it does take a bit of time pulling together reference images together. Especially when doing a complex scene with lots of different elements. So for example I might like to use a light in one idea or a table in another. Once I’ve got these reference images pulled together I start to set out some shapes and just to get the feel of the space.
Stage 2
From here it’s a straightforward case of replacing the rough blocks with more refined models.
At this point I’ll start adding some textures a bit of lighting just to start building the mood. I can get really lost in this stage. I love the world-building element of creating environments in 3D. It’s something I've always enjoyed doing, even in my live filmmaking. Even though you can’t actually see around the corner it’s the idea that it's actually there and not just blank space. As soon as the textures are in then there’s its time to start layering in the details.
Stage 3
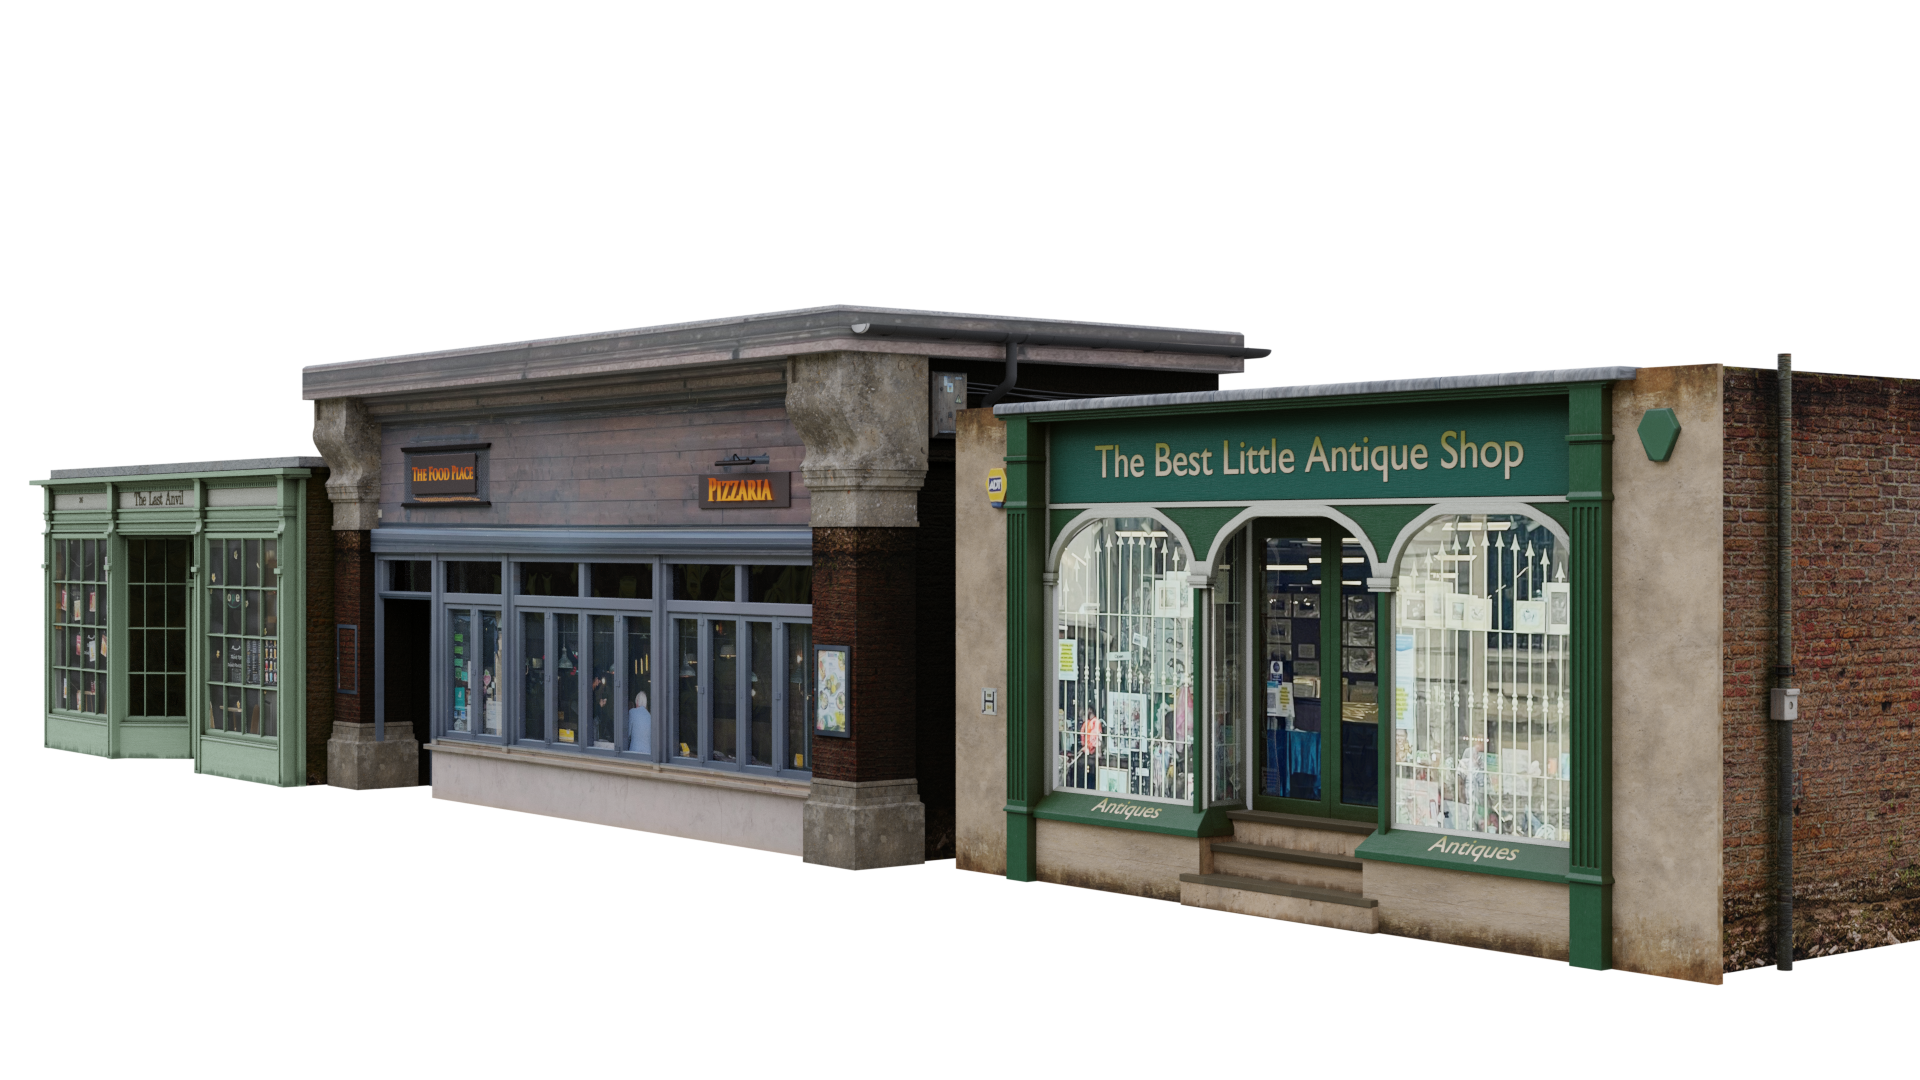
This stage immediately throws up a new challenge. Light gets absorbed and we lose at lot of the lighting I’d already set up. Especially when adding more details outside the window.
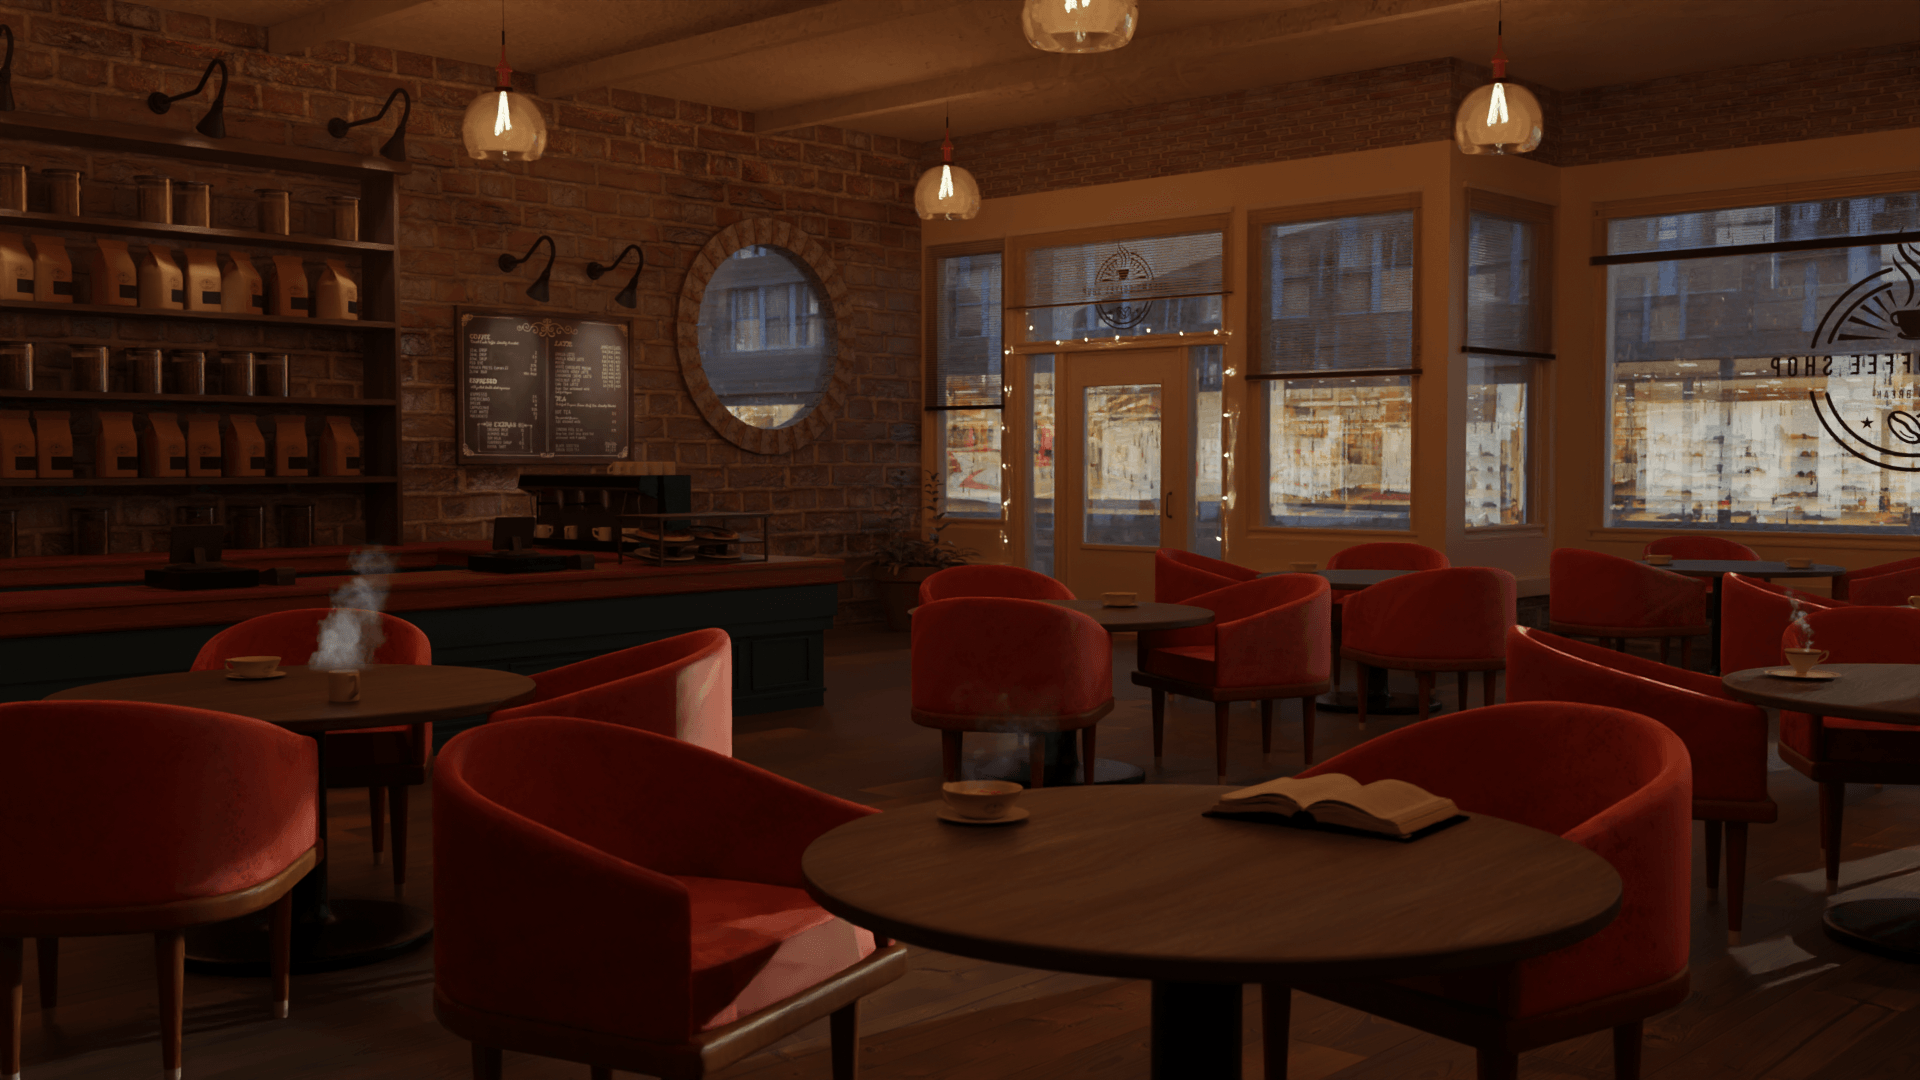
It was requested by the client that the exterior was dusk, with an emphasis on the interior being warm and cosy.
The next task is to adjust the lighting and layer in the next level of detail. I focus on some interior lighting. The first ones I liked were the glass domes and just a diffused light, but I couldn’t find a texture I was happy with. Whilst I liked the light it gave off (the soft shadows made the shop feel warm) but I traded that for a stronger light with a warmer colour.
Stage 4
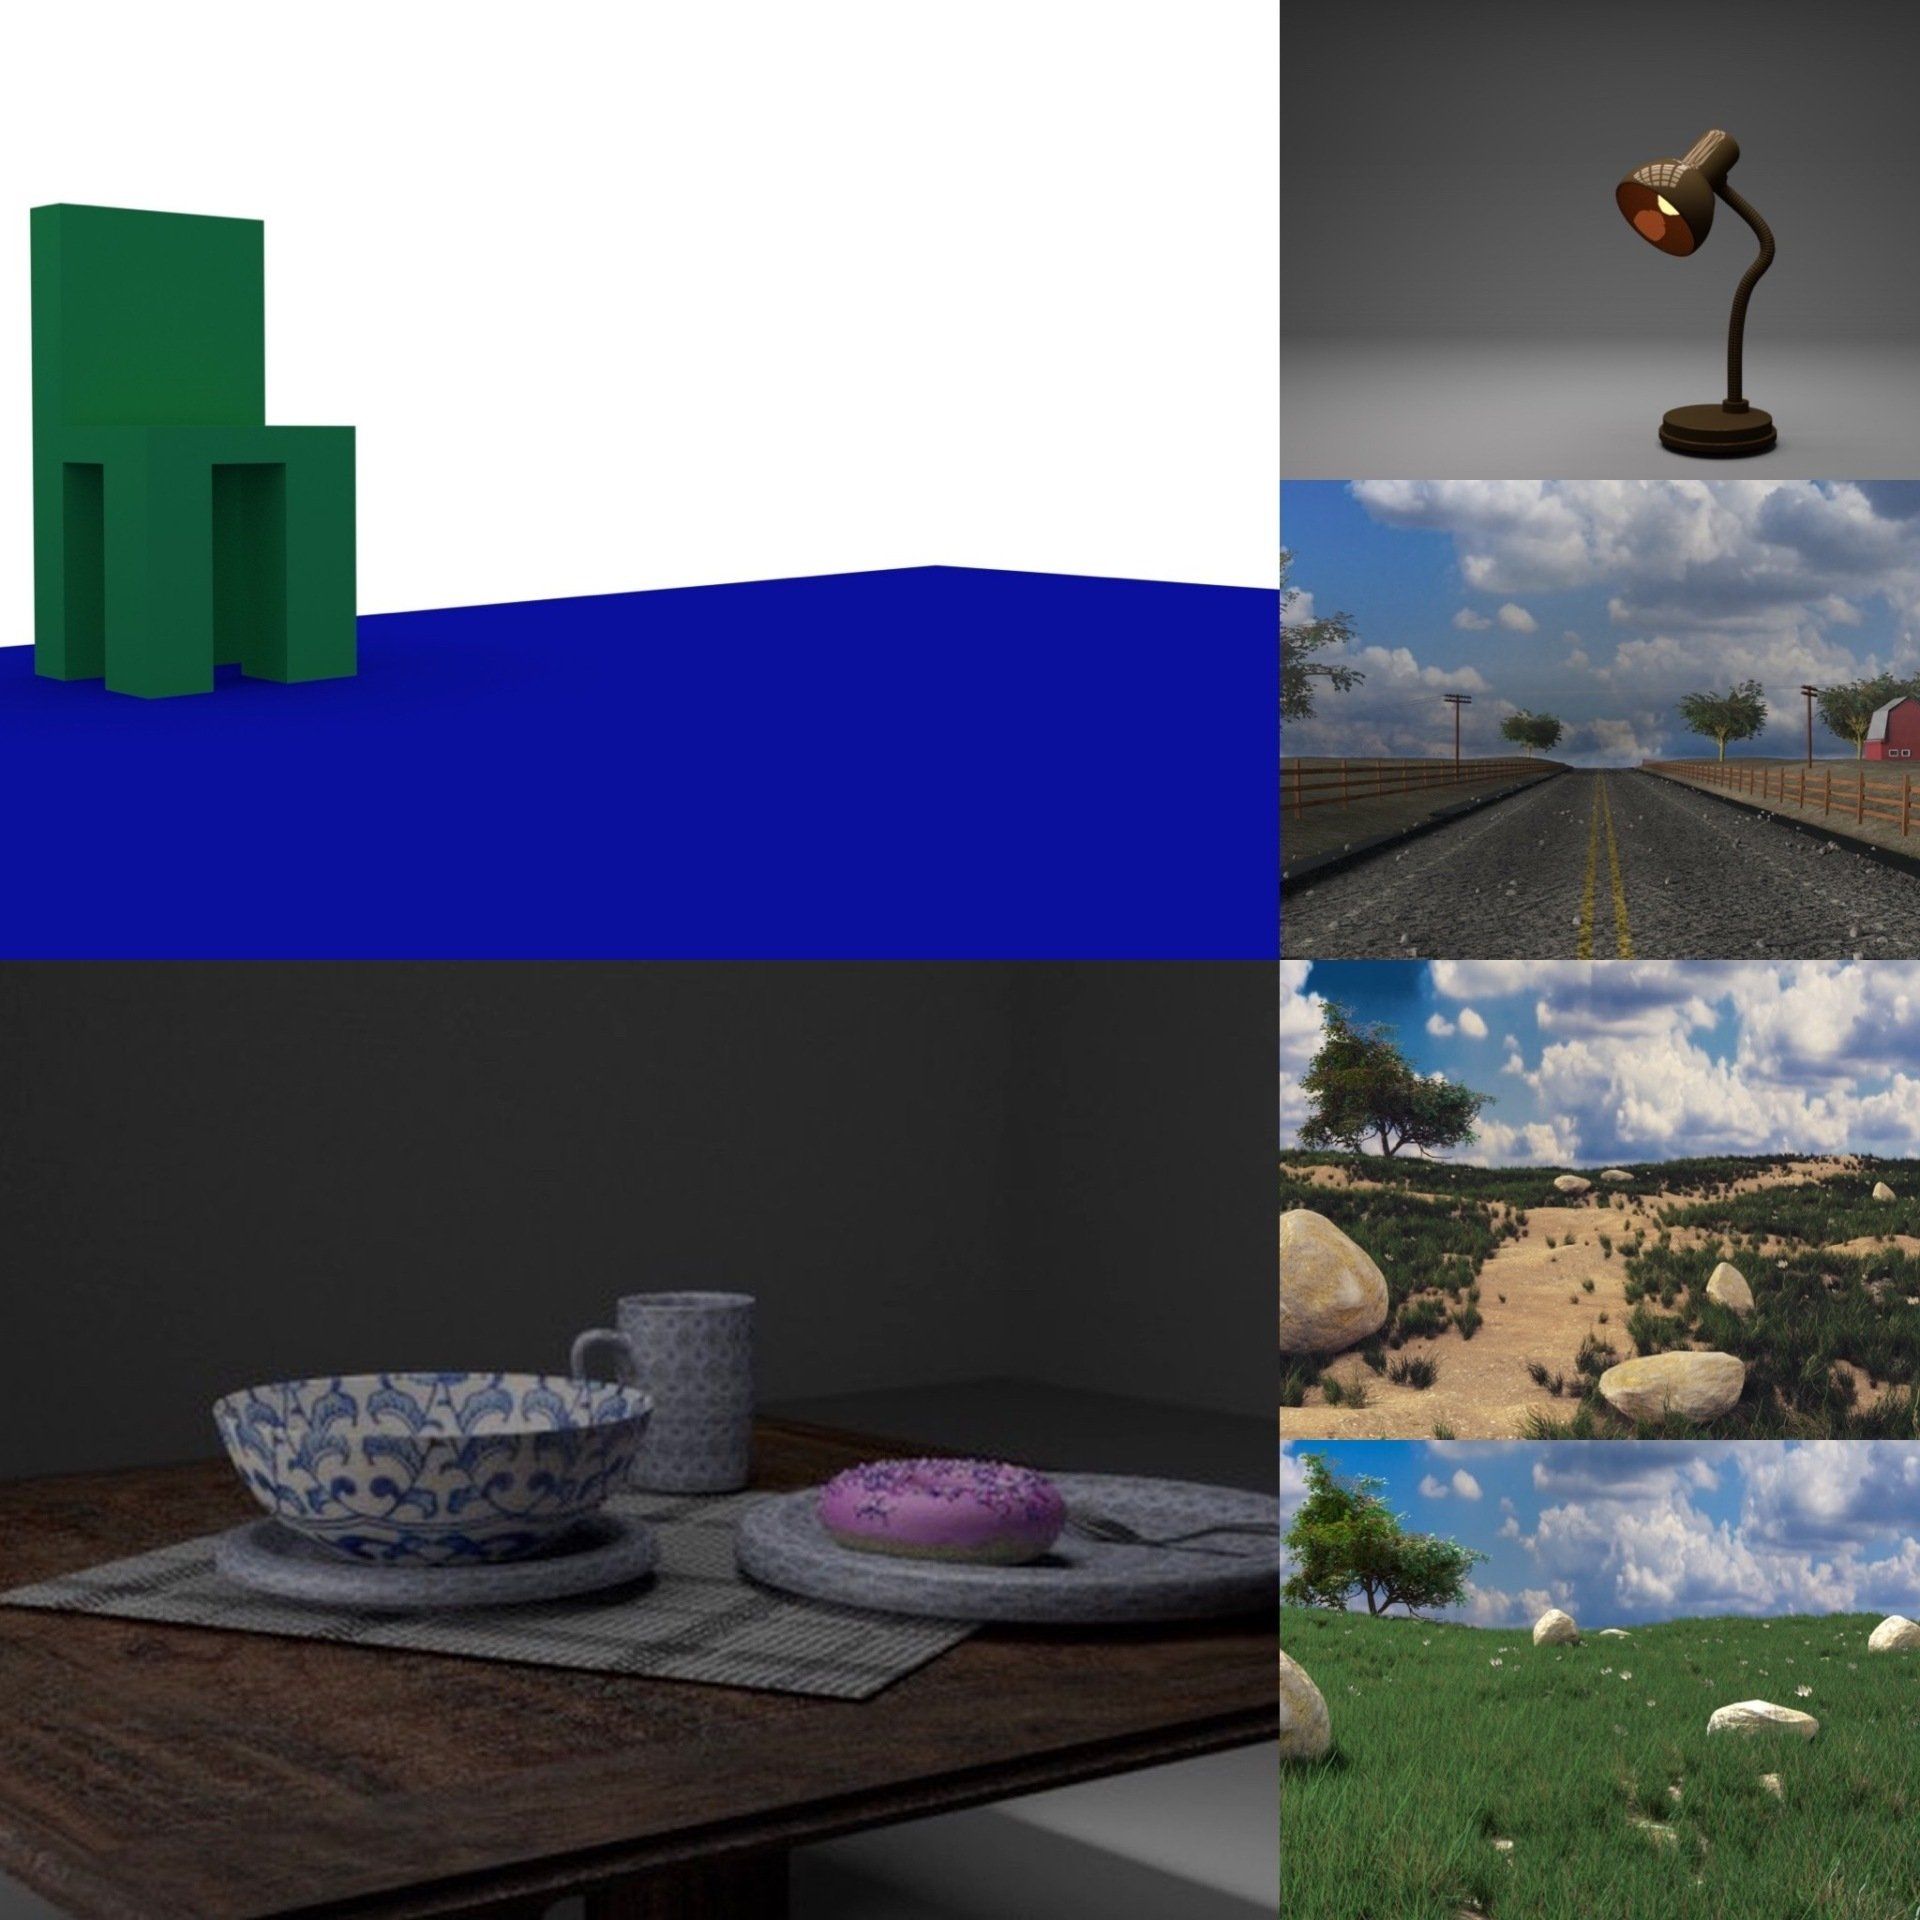
Once the client and I were happy with the layout of the setting I started on the props and the elements that populate a coffee shop. This was where my all my research at the start comes into its own. I’ll drop a reference image into blender and then start modelling the items. This maybe time consuming to start with, but it’s not long before there is a small library of items to use on a variety of projects moving forward.
Stage 5
This next stage was by far the most challenging, both in terms of computer processing power and my knowledge of metaballs.
The client had requested the animation loop to include rain pouring outside on the street. First things first, I got a simple plane and raised it above the street. I then added a particle system, attaching that to a low poly ico sphere that I’ve stretched at one end. I added a basic glass texture to it, baked the animation and was done.
This section was more complicated. I opened another project, once again I got a simple plane and added a particle system but this time I linked it to a metaball.
I added another plane and set it at angle so it would catch the particle but also still allow them to run off. The fun thing about metaballs is that they will interact with each other which exactly what I needed for rain drops the way they run down a window and the join other raindrops do. Once I found the right settings for the rain I baked the animation and then set to work on the next stage using the particle system as texture paint so that it looked like the rain removed other drop and particles as it ran down the window. Once all that is done, it all needs to be exported and turned into a video layer. Next its added to the window panes. Then I needed to add the steam elements, which were just keyed, live action footage looped and added to the cups.
For the final stages it was a case of making sure all the video elements were the same length. I then set the timeline to 120frames and then render out the loop in cycles which can take sometime especially on large projects like this.
Once the render is complete I do some last bit of colour grading and the export the final video.


